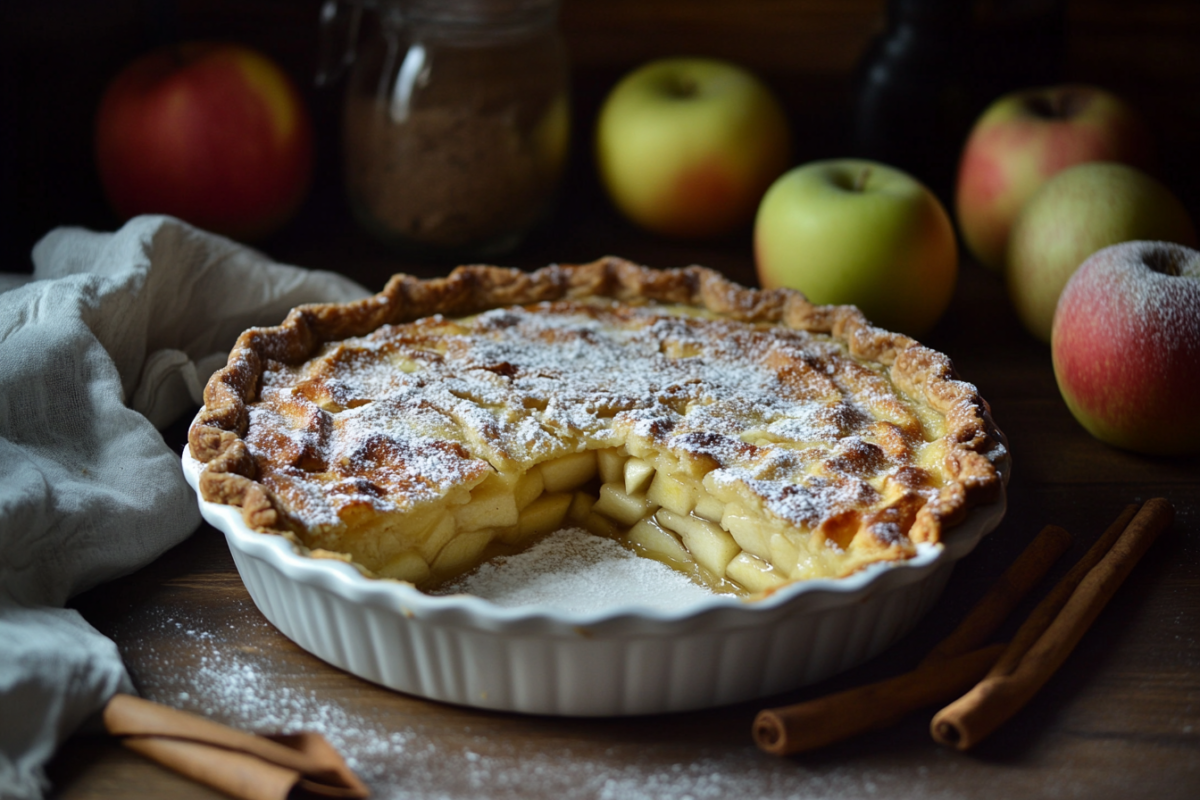
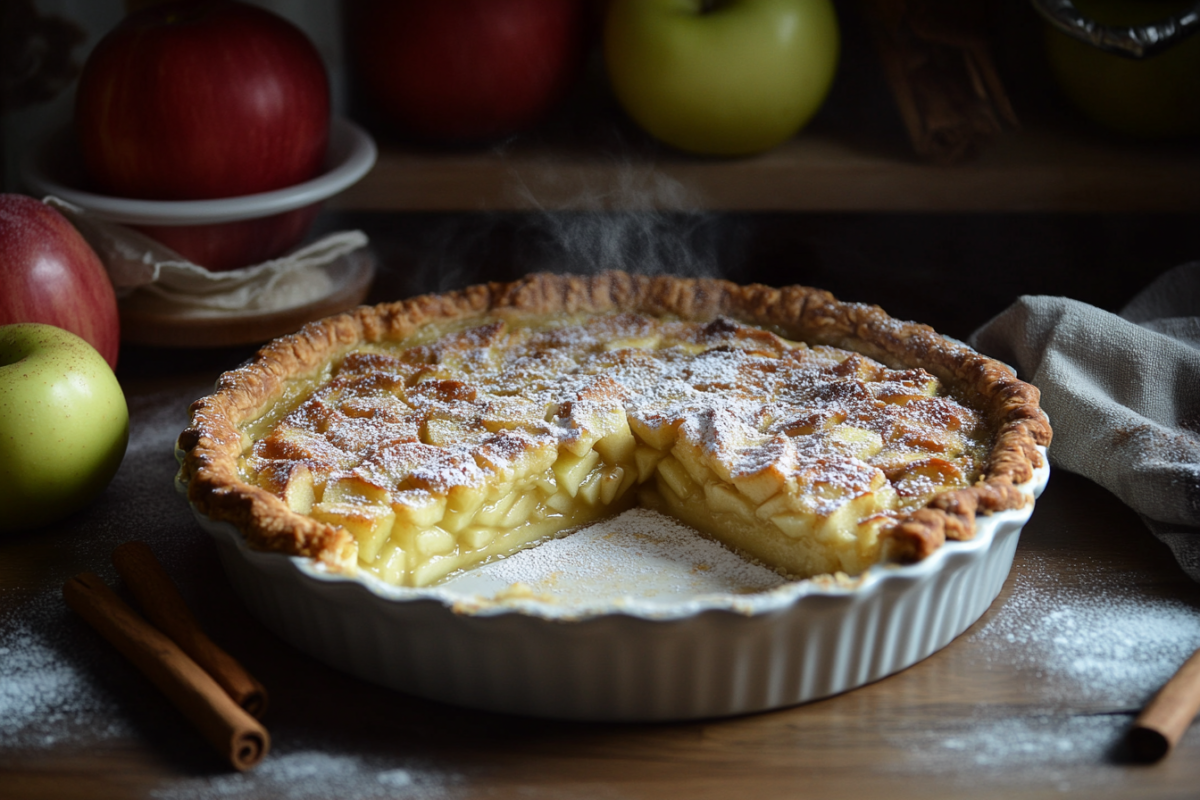
When you’re craving something sweet but don’t have hours to spend in the kitchen, quick apple pie is the answer. It’s the perfect dessert for busy families, last-minute gatherings, or just a cozy treat after dinner. This easy apple pie recipe will help you whip up a delicious dessert without the hassle of long prep times or complicated ingredients. Whether you’re a beginner or a seasoned baker, this simple apple pie is sure to become a go-to in your recipe collection.
What is Quick Apple Pie?
If you’re short on time but still want a scrumptious homemade dessert, quick apple pie is your best bet. Unlike traditional apple pie recipes that require hours of prep, this version gets straight to the point. With store-bought pie crusts, fresh apples, and a handful of pantry staples, you’ll have a pie ready to go in no time.
A quick apple pie typically skips the complex steps of making pie dough from scratch, focusing instead on creating a delicious filling. You get all the warm, comforting flavors of apple pie—cinnamon, sugar, and buttery crust—without the long wait or laborious steps. It’s simple, easy, and absolutely tasty.
Key Ingredients for Quick Apple Pie
Creating the perfect quick apple pie starts with choosing the right ingredients. Let’s take a look at what you’ll need to make your pie delicious, easy, and packed with flavor.
Apples: Type of Apples
When it comes to apples, not all varieties are created equal for pie-making. While you could technically use any kind of apple, some work better than others in a quick apple pie. Granny Smith apples, known for their tartness, are a classic choice. Their firmness holds up well during baking, giving your pie a perfect texture. Honeycrisp apples, on the other hand, offer a sweet-tart balance, making them ideal for those who enjoy a more nuanced flavor. Other great options include Fuji and Braeburn apples, which add sweetness and a touch of juiciness.
Pie Crust: Store-bought vs Homemade
For a quick apple pie, a store-bought pie crust is a game-changer. It’s fast, easy, and consistently delivers that buttery, flaky texture you crave. Of course, if you have the time and prefer a homemade touch, feel free to make your own crust. But let’s be real—when you’re in a rush, going for a pre-made crust lets you focus more on perfecting that apple filling.
Sugar and Spices: Cinnamon, Nutmeg, and Lemon Juice
A quick apple pie wouldn’t be complete without the perfect blend of sugar and spices. Cinnamon is the star here, providing that warm, comforting aroma. A dash of nutmeg adds a subtle depth, while lemon juice enhances the apples’ natural flavors. Don’t forget the sugar! You’ll need a mix of white sugar for sweetness and brown sugar for that deep caramel-like richness.
How to Make Quick Apple Pie
Now that you’ve got your ingredients, it’s time to dive into the process of making your quick apple pie. Don’t worry, this will be a simple and easy step-by-step guide, perfect for bakers of all skill levels.
Prepare the Apples: Peeling, Slicing, and Seasoning
Start by washing your apples thoroughly. Then, peel and slice them into thin, even pieces—about 1/4-inch thick. Thinner slices cook more evenly and make for a tender pie filling. After slicing, place the apples in a large bowl and sprinkle with your sugar, cinnamon, nutmeg, and a little lemon juice. Toss everything together to ensure each apple slice is coated with the warm spices. This mixture creates that irresistible apple pie filling flavor you’ll love.
Preparing the Pie Crust: Lining the Pan, and Pre-baking (If Necessary)
Next, grab your store-bought pie crust (or your homemade one if you’re feeling adventurous). Roll it out if necessary, and carefully fit it into your pie pan, ensuring it covers the bottom and sides. You want the crust to fit snugly without any gaps. If you’re using a store-bought crust, it’s often best to pre-bake it for 5-10 minutes at 375°F to avoid a soggy bottom. This step helps the crust stay crisp while baking. However, if you’re in a pinch, skipping this step still yields a delicious result.
Assembling the Pie: Layering and Folding
Once your crust is ready, it’s time to assemble the pie. Layer your seasoned apple slices evenly into the pie crust, piling them high for a full, rounded pie. Once you’ve filled the pan with apples, you can top it with another layer of pie crust, folding the edges under the bottom layer for a neat finish. Or, for a quick twist, leave the top open for a rustic, free-form pie. If you’re feeling fancy, add a small crumble topping made from butter, flour, and sugar.
Baking Your Quick Apple Pie
Preheat your oven to 375°F (190°C). Place your pie on the center rack and bake it for about 45-50 minutes. You’ll want the crust to be golden and crispy, and the apples should be bubbling with delicious juice. If the crust’s edges begin browning too fast, shield them with aluminum foil to prevent burning. Keep an eye on your pie—when it’s done, the filling will be hot and bubbling, and the crust will have that irresistible golden hue.
Pro Tips for Success
To make sure your quick apple pie turns out perfectly every time, here are a few pro tips to avoid common mistakes:
- Avoiding a Soggy Crust: Make sure to drain any excess liquid from the apple filling before adding it to the pie crust. If there’s too much juice, it can seep into the bottom and make the crust soggy. You can also sprinkle a thin layer of flour or cornstarch in the bottom of the crust before adding the apples to help absorb extra moisture.
- Crust Perfection: To get a flaky, golden crust, brush the top of your pie with a bit of milk or egg wash (an egg beaten with a splash of water). This will give it a beautiful shine and a perfectly crisp finish.
- Check for Doneness: If you’re unsure whether your pie is fully baked, gently insert a knife into the filling. If it slides through the apples easily and the juices are bubbling, you’re good to go!
Variations of Quick Apple Pie

Mini Quick Apple Pies
Sometimes, bigger isn’t always better—mini quick apple pies are perfect for individual servings or small gatherings. They’re just as easy to make and offer all the flavors of a full pie in a fun, single-serving size.
To make these, start by using a muffin tin or individual tart pans. Roll out your pie crust and cut it into circles large enough to line the cups of your tin. Press each crust gently into the bottom and sides of the cups, then proceed with adding your seasoned apple filling. You can layer or pile the apples as you like, and then top with a small piece of crust or a crumble topping for a crispy, golden finish.
Bake at 375°F for 20-25 minutes or until the crust is golden and the filling is bubbly. These mini apple pies are perfect for serving at parties or enjoying a personalized portion of delicious dessert. Plus, they’re easy to grab and go!
Gluten-Free Quick Apple Pie
For those who need or prefer a gluten-free option, making a gluten-free quick apple pie is easier than you might think. Simply substitute your standard pie crust with a gluten-free pie crust mix or a pre-made gluten-free crust from the store. Many of these crusts are made from rice flour, tapioca flour, and other gluten-free ingredients, ensuring the same flaky texture without the wheat.
You’ll also need to check your apple pie filling for gluten-free compliance. Most of the ingredients—like apples, sugar, cinnamon, and nutmeg—are naturally gluten-free, but some pre-made pie crusts or topping mixes may contain gluten. Just be sure to check labels or opt for homemade gluten-free crusts to keep things safe.
The key is making sure that all your ingredients are certified gluten-free. Once your pie is assembled, follow the same baking instructions as the original recipe, and you’ll have a gluten-free apple pie that everyone can enjoy!
Vegan Quick Apple Pie
If you’re looking for a vegan quick apple pie, it’s just as simple to make a delicious, plant-based version. Start by swapping out the butter in the pie crust with a vegan butter substitute, such as margarine or coconut oil. These options will provide the same rich flavor and flaky texture that you love.
You can also use non-dairy milk (like almond or oat milk) for brushing the top of the crust instead of an egg wash, which is typically used for a golden shine. The apple filling doesn’t require any changes—apples, sugar, spices, and lemon juice are all naturally vegan-friendly!
Troubleshooting Common Quick Apple Pie Problems
Why Is Your Apple Pie Soggy?
A soggy apple pie is a common issue, but don’t worry—it’s easy to fix with a few simple tricks. The primary culprit for a soggy bottom crust is excess moisture from the apple filling. Apples release juices while baking, and if there’s too much liquid, it can soak into the crust, making it soft and soggy instead of crisp and flaky.
To prevent this, start by draining any excess juice from your apples before adding them to the crust. Another tip is to sprinkle a thin layer of flour, cornstarch, or even ground almonds on the bottom of the pie crust. This helps absorb the extra moisture and keeps the crust from becoming soggy. If you’re using a store-bought pie crust, you can also pre-bake it (also known as blind baking) for about 10 minutes at 375°F to give it a head start before adding the apple filling. This will ensure a crisp bottom.
Finally, if you’re using juicy apple varieties like Fuji or Gala, consider reducing the amount of sugar in your filling. Too much sugar can cause more liquid to release as the pie bakes.
What to Do if the Pie Crust Is Too Hard
If your pie crust ends up too hard and not as flaky and tender as you hoped, don’t fret—it’s fixable! A hard crust can happen for a few reasons: overworking the dough, using cold ingredients, or not adding enough moisture.
First, be gentle when mixing your pie dough. Overworking the dough develops too much gluten, which can make it tough. Make sure to use cold butter (or vegan butter) and cold water, which helps create that desirable flaky texture. If the dough feels too dry, gradually add water, a little at a time, until it comes together. You can also try adding a tablespoon of vinegar to the dough to help tenderize it.
Another trick to achieve a soft and flaky crust is to make sure your pie crust is fully chilled before baking. Let it rest in the fridge for at least 30 minutes before rolling it out, as this helps the fat in the dough stay solid, resulting in a lighter, flakier texture.
Nutritional Information and Serving Suggestions
How Many Calories Are in Quick Apple Pie?
The calorie content of a quick apple pie can vary depending on the specific ingredients you use, but here’s an approximate breakdown for a standard slice (based on a 9-inch pie):
- Apple filling (apples, sugar, cinnamon, etc.): Around 150-200 calories per slice.
- Pie crust (store-bought, 1/8th of a standard pie): Roughly 150-200 calories per slice.
- Total: A typical slice of quick apple pie comes in at approximately 300-400 calories.
Keep in mind that if you add a crumble topping or extra sugar, the calorie count can increase. Also, variations like gluten-free or vegan quick apple pie might alter the nutritional breakdown slightly, depending on the substitutions made. For a lighter version, you can reduce sugar or opt for a whole wheat crust.
Serving Suggestions
A quick apple pie is delicious on its own, but you can always add a little something extra to make it even more indulgent.
- Ice Cream: Vanilla ice cream is a classic pairing that complements the warm, spiced filling of the pie. Try a scoop of cinnamon ice cream for an extra burst of flavor.
- Whipped Cream: A dollop of freshly whipped cream adds richness and a soft texture that perfectly balances the crispness of the crust.
- Caramel Sauce: Drizzle some warm caramel sauce over your slice for a sweet, buttery finish.
- Cheddar Cheese: For a savory twist, some people enjoy their apple pie with a slice of sharp cheddar cheese on top. The combination of sweet and salty is irresistible!
These toppings elevate the flavor and make your quick apple pie even more satisfying!
FAQs About Quick Apple Pie
How Do You Make Quick Apple Pie Without a Crust?
If you’re craving apple pie but don’t have a crust—or simply want to make it gluten-free or lower in carbs—crustless apple pie is an option! To make a crustless version, simply prepare the apple filling (as described in the recipe), pour it into a greased pie pan, and bake. You can still create a delicious, slightly crisp topping by mixing oats, flour (or almond flour), sugar, and butter to form a crumble topping that bakes on top of the apples.
Can You Use Pre-Cooked Apples for Apple Pie?
Yes, you can use pre-cooked apples for apple pie! While fresh apples are commonly used, pre-cooked apples can make the process even quicker. Simply cook the apples until tender, then mix them with sugar and spices before assembling the pie. The pre-cooked apples will soften more easily during baking, which results in a smooth, well-blended filling. This is a great shortcut for those short on time!
How Long Should You Let Quick Apple Pie Cool?
After baking your quick apple pie, it’s essential to let it cool for at least 30 minutes. This allows the juices to set, preventing the filling from spilling out when you slice it. While you may be eager to dive in, letting the pie cool will result in better texture and flavor. For a crispier crust, let it cool on a wire rack, which allows air to circulate around the entire pie.
Can I Freeze Quick Apple Pie?
Yes, you can freeze quick apple pie for later enjoyment! If freezing before baking, assemble the pie, wrap it tightly in plastic wrap, and store it in a freezer-safe container. When you’re ready to bake, there’s no need to thaw it; simply bake at 375°F for an extra 10-15 minutes. If you’ve already baked the pie, allow it to cool completely before wrapping and freezing. It can be stored for 3 months. When ready to eat, reheat it in the oven for the best texture!
Conclusion
Quick apple pie is the ultimate dessert, perfect for any occasion. Whether you’re preparing a family dinner, hosting friends, or simply craving something sweet, this easy recipe is a crowd-pleaser. It’s fast, versatile, and can be customized to suit anyone’s taste. Plus, it’s a great way to enjoy a homemade pie without all the fuss and time typically required.

