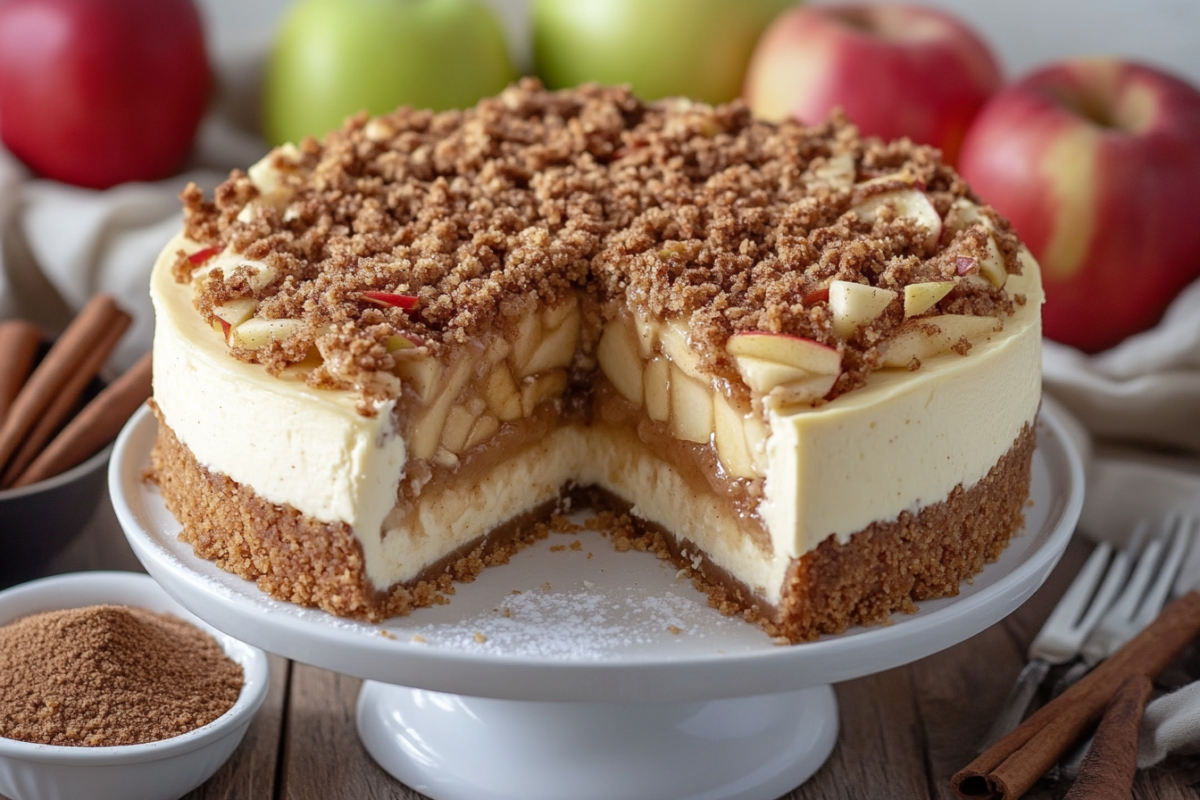
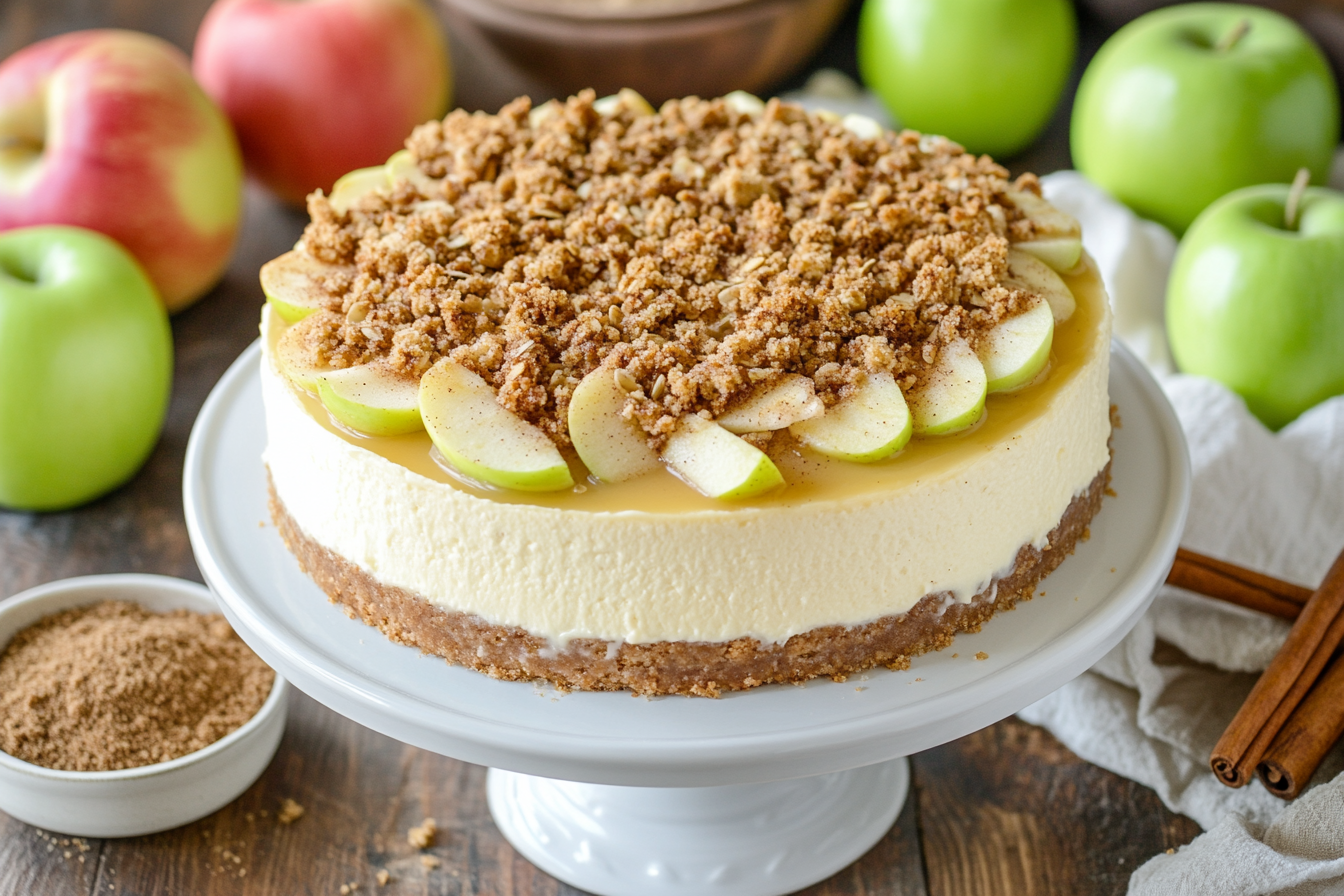
Looking for a dessert that combines the creamy indulgence of cheesecake with the cozy warmth of apple crumble? You’re in for a treat! This apple crumble cheesecake recipe is a delightful fusion of textures and flavors, perfect for any occasion. Whether you’re an experienced baker or a newbie in the kitchen, this step-by-step guide will make whipping up this delectable dessert a breeze. Let’s get started!
The Ultimate Apple Crumble Cheesecake Recipe
Why You’ll Love This Recipe
This apple crumble cheesecake recipe isn’t your average dessert. Imagine biting into a buttery graham cracker crust, rich cheesecake filling, and a sweet, crumbly topping bursting with cinnamon-spiced apples. It’s the best of both worlds! Plus, it’s simple enough for beginners yet sophisticated enough to wow guests at your next gathering.
Ingredients and Equipment
Ingredients You’ll Need
To make this apple crumble cheesecake recipe, you’ll need a few key ingredients. The best part is that most of them are pantry staples, so you likely already have them on hand. Here’s a breakdown of what you’ll need for each part of the dessert.
For the Crust
- Graham crackers – About 1 ½ cups crushed. You can use digestive biscuits as an alternative if you prefer.
- Butter – ¼ cup melted. Unsalted butter works best for control over the flavor.
- Sugar – 2 tablespoons to add sweetness to the crust.
The crust is the base of your cheesecake, so getting this mix just right will make the perfect foundation. Press the ingredients tightly into the springform pan to ensure a sturdy, golden crust.
For the Cheesecake Filling
- Cream cheese – 2 packages (16 oz). Make sure it’s softened to room temperature for a smooth and creamy texture.
- Granulated sugar – 1 cup, for that perfect balance of sweetness.
- Eggs – 3 large. The eggs provide structure and help bind the ingredients together.
- Sour cream – ½ cup. This ingredient adds a smooth richness to the cheesecake, giving it that velvety finish.
- Vanilla extract – 1 teaspoon, for depth of flavor.
The filling is the star of the show, so don’t skimp on quality ingredients. A smooth, creamy filling is key to achieving that luxurious cheesecake texture!
For the Apple Crumble Topping
- Apples – 3 medium-sized, peeled and sliced. Choose tart apples like Granny Smith for a nice contrast to the sweetness of the filling.
- Brown sugar – ¼ cup. Brown sugar enhances the flavor with a deep, caramelized touch.
- Cinnamon – 1 teaspoon, to bring a warming spice that complements the apples.
- Oats – ½ cup, for a bit of crunch in your crumble topping.
- Flour – ¼ cup, to help bind the crumble together.
- Butter – 2 tablespoons, cold and cut into small cubes, to create that irresistible crumble texture.
The apple crumble topping adds a lovely crunch and balance to the creamy cheesecake layer, making each bite a delightful contrast of textures.
Recommended Equipment
To ensure the process goes smoothly, you’ll need a few essential kitchen tools. Here’s what you’ll want to have on hand:
- Springform pan – A 9-inch pan is ideal for this recipe. The removable sides make it easy to release your cheesecake without any hassle.
- Mixing bowls – You’ll need a couple of them for the crust, filling, and crumble.
- Food processor (optional) – If you prefer an ultra-smooth crust, using a food processor to crush the graham crackers and mix the topping is a great shortcut. Otherwise, you can simply use a ziplock bag and a rolling pin to crush the crackers manually.

Step-by-Step Instructions
How to Make Apple Crumble Cheesecake
Now that you have all the ingredients ready, it’s time to dive into the fun part: making your apple crumble cheesecake! Follow these easy steps, and you’ll have a show-stopping dessert that everyone will love.
Step 1 – Prepare the Crust
Start by making the crust, which will form the base of your cheesecake. This step is simple and quick!
- Mix the ingredients: In a medium mixing bowl, combine the crushed graham crackers (or gluten-free option), melted butter, and sugar. Use a spoon to mix everything together until the mixture is moist and sticks together when pressed.
- Press into the pan: Take a 9-inch springform pan and evenly press the crust mixture into the bottom. You can press it down firmly using the back of a spoon or a cup with a flat bottom. It’s important to make sure the crust is even and compact, so it doesn’t fall apart later.
- Bake briefly: Preheat your oven to 350°F (175°C) and bake the crust for about 8-10 minutes. This step helps the crust firm up and become golden. Once it’s done, remove it from the oven and let it cool while you prepare the filling.
Step 2 – Make the Cheesecake Filling
Next up is the creamy, dreamy cheesecake filling that makes this recipe so special. Here’s how to get it smooth and velvety:
- Whisk the cream cheese: In a large bowl, whisk the softened cream cheese until it becomes smooth and creamy. You can use a hand mixer or a stand mixer for this—just make sure there are no lumps.
- Add the sugar, Once the cream cheese is smooth, add the granulated sugar and continue to beat until it’s fully incorporated.
-
- Add the sour cream and vanilla: Mix in the sour cream and vanilla extract. This will give the cheesecake that signature rich and tangy flavor.
- After the filling is prepared, pour it over the crust in the springform pan. Use a spatula to smooth the top, ensuring it’s even.
Step 3 – Prepare the Apple Crumble Topping
Now, it’s time to make that irresistible apple crumble topping. This is where the magic happens!
-
- Coat with sugar and cinnamon: Place the apple slices in a bowl and toss them with brown sugar and cinnamon until they’re fully coated. The sugar will draw out the juices from the apples, creating a sweet glaze that will complement the cheesecake perfectly.
- Make the crumble: In another small bowl, mix together the oats, flour, and the remaining butter. Use your fingers or a pastry cutter to blend the butter into the dry ingredients until you have a crumbly mixture.
- Assemble the topping: Spread the coated apple slices over the top of the cheesecake filling. Then, sprinkle the crumble mixture generously on top of the apples. The crumble will melt and turn golden while baking, giving the dessert its signature texture and flavor.
Step 4 – Assemble and Bake
Now it’s time to assemble everything and pop it in the oven!
- Layer the filling and topping: Once the apple slices and crumble are arranged, carefully layer them on top of the cheesecake filling, spreading the apples evenly so every slice gets a bit of everything.
- Bake: Place the cheesecake in the preheated oven at 350°F (175°C) and bake for about 45-50 minutes. Keep an eye on it as it bakes—the cheesecake should be golden on top, and the center should be slightly set but still have a gentle jiggle.
- Test for doneness: To check if the cheesecake is ready, gently shake the pan. If the center jiggles like gelatin, it’s done. If not, keep baking for another 5-10 minutes.
Step 5 – Cool and Serve
The hardest part is over! Now, it’s time to let your cheesecake cool and set properly.
- Cool slowly: Turn off the oven and let the cheesecake cool inside with the oven door slightly ajar for about an hour. This helps prevent cracks from forming.
- Chill in the fridge: After cooling, transfer the cheesecake to the fridge and chill for at least 4 hours, or preferably overnight. This allows the cheesecake to firm up and lets the flavors meld together.
- Serve: Once it’s chilled and set, run a knife around the edges of the springform pan before releasing the sides. Slice it up, serve it with a dollop of whipped cream or a drizzle of caramel sauce, and enjoy!
Tips for Success
Pro Tips for Perfect Apple Crumble Cheesecake
Baking a flawless apple crumble cheesecake recipe requires a little know-how. Here are some tried-and-true tips to ensure your cheesecake turns out perfectly every time.
Preventing Cracking in Your Cheesecake
One of the most common challenges with cheesecake is avoiding cracks in the top. Fortunately, there are a few simple steps to help prevent this:
- Avoid overmixing: Overmixing the cheesecake filling incorporates excess air, which can lead to cracks as it bakes. Mix just until smooth and combined.
- Baking in a water bath: This might sound fancy, but it’s easy! To create a water bath, place your springform pan inside a larger baking dish filled with hot water. This helps regulate the temperature and prevents the cheesecake from baking too quickly, which can cause cracks.
- Cool slowly: After baking, turn off the oven and leave the cheesecake inside for about an hour. This gradual cooling helps prevent sudden temperature changes, which could cause cracking.
How to Select the Best Apples
The apples you choose for the topping will have a big impact on the overall flavor. You want a balance between tart and sweet, as it complements the rich, creamy filling. Here are a few pointers for choosing the best apples:
- Go for tart apples: Apples like Granny Smith, Honeycrisp, or Braeburn are excellent choices because they hold their shape well and their tartness balances the sweetness of the cheesecake.
- Avoid overly soft apples: Apples like Red Delicious or Fuji, while sweet, can break down too much when cooked and won’t give you the structure you want for the topping.
- Freshness matters: Choose firm, fresh apples for the best texture and flavor. Apples that are too old or overripe can become mushy when baked, which may lead to a less-than-perfect topping.
Storage and Reheating Tips
Storing and reheating your cheesecake properly will ensure it stays fresh and delicious for days!
- Storage: After the cheesecake has fully cooled, cover it with plastic wrap or aluminum foil and store it in the fridge. It will stay fresh for up to 4-5 days. If you’re lucky enough to have leftovers, store them in an airtight container to keep their moisture and texture intact.
- Freezing: If you want to freeze the cheesecake for later, wrap it tightly in plastic wrap and then aluminum foil. It can be frozen for up to 3 months.
- Reheating: To reheat the cheesecake, place it in a 300°F (150°C) oven for about 10 minutes. If you’re reheating individual slices, place them on a baking sheet and cover them with foil to prevent drying out.

