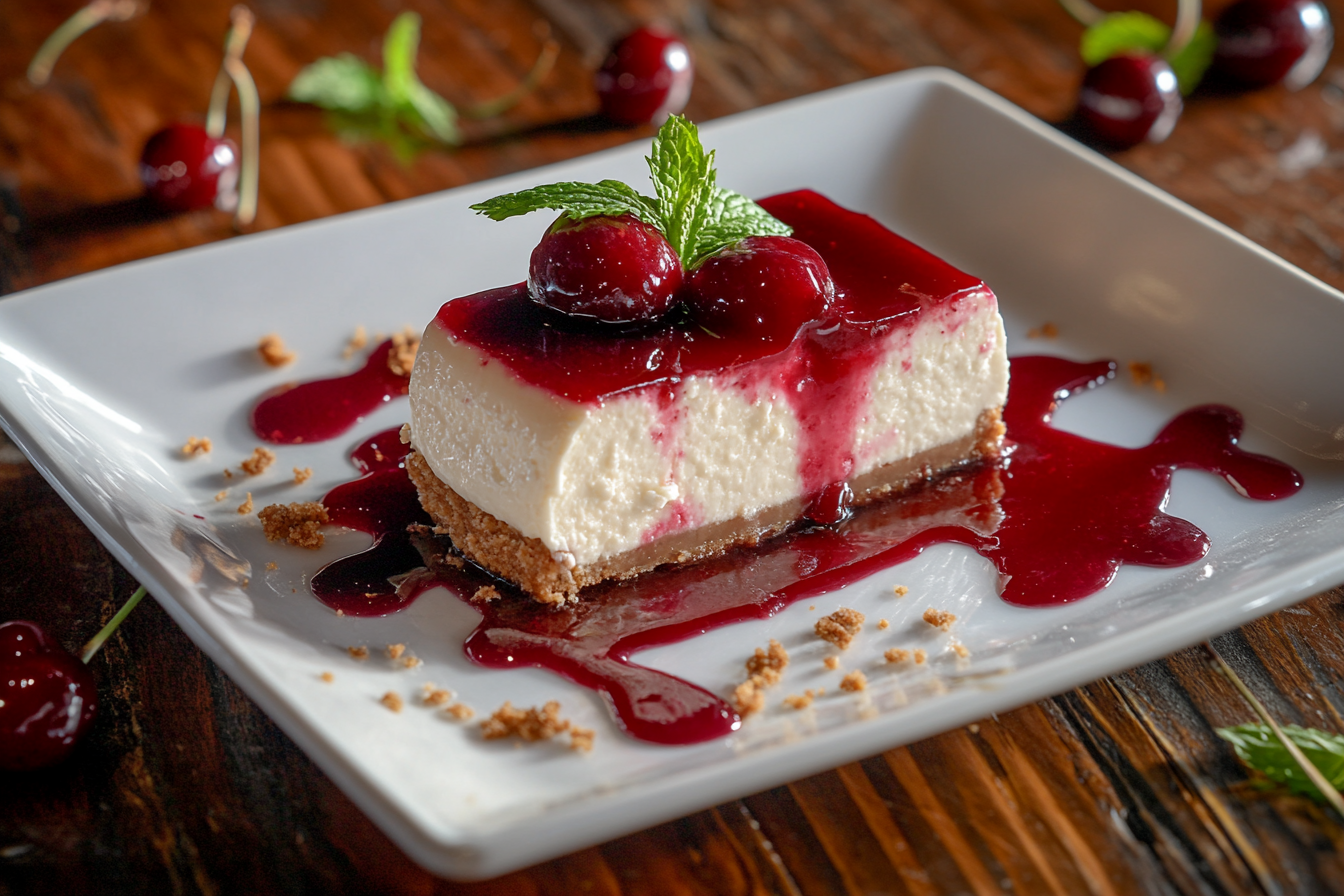
Making a cherry cheesecake from scratch is a rewarding and fun experience. With the perfect balance of creamy, tangy filling and sweet cherry topping, it’s a dessert that always impresses. Whether you’re a seasoned baker or a newbie in the kitchen, this cherry cheesecake recipe will guide you step-by-step to create a show-stopping treat. It’s simpler than you might imagine and will have everyone coming back for more. So, if you’ve been craving the ultimate cherry cheesecake, you’ve come to the right place!
1: What Makes the Cherry Cheesecake Recipe So Special?
The cherry cheesecake recipe we’ll be exploring today isn’t just about combining ingredients; it’s about creating a dessert that feels like a special treat. A creamy filling with a buttery crust, topped with sweet and tangy cherries, this cheesecake is the perfect balance of textures and flavors. Whether it’s for a special occasion or a simple weekend treat, this recipe will surely be a hit.
Why Choose This Cherry Cheesecake Recipe?
This particular cherry cheesecake dessert is quick to prepare and requires minimal ingredients that you probably already have in your kitchen. Plus, it’s adaptable to your taste. You can adjust the sweetness or even use different types of fruit for the topping. The cherry cheesecake also has a smooth, creamy texture that contrasts beautifully with the slightly crunchy graham cracker crust. You can’t go wrong with this delightful combination of flavors and textures!
2: Ingredients for the Perfect Cherry Cheesecake
Before we dive into the steps, let’s take a look at the ingredients that make this cherry cheesecake recipe so irresistibly creamy and delicious.
The Cherry Cheesecake Filling
For the creamy filling, you’ll need:
- Cream cheese (softened to room temperature)
- Granulated sugar
- Eggs
- Heavy cream
- Vanilla extract
- Almond extract (optional, but adds a lovely depth of flavor)
The Cherry Topping
The star of any cherry cheesecake is the topping, and for that, you’ll need:
- Fresh or frozen cherries
- Sugar
- Cornstarch (to thicken the topping)
- Lemon juice (for a touch of tanginess)
Gluten-Free Options
For those who prefer gluten-free, you can easily substitute the graham cracker crust with one made from almond flour or a gluten-free cookie option. This small tweak keeps your dessert both delicious and friendly for all dietary needs!
3: Essential Equipment for Your Cherry Cheesecake
Now, let’s talk about the equipment you’ll need. Most of these items you probably already have in your kitchen, making this cherry cheesecake recipe all the more accessible.
Must-Have Equipment
- A stand mixer or a hand mixer (to get that perfectly smooth cheesecake batter)
- A springform pan (to easily release your cheesecake after it’s baked)
- A roasting pan (if you’re using a water bath)
- A cooling rack (to allow the cheesecake to set correctly)
4: Step-by-Step Guide to Making Cherry Cheesecake
Now, let’s get to the fun part: making your cherry cheesecake! This process is a bit like a baking dance—you’ll be moving through stages to build that perfect, creamy delight.
Preparing the Cheesecake Batter
- Mix the Cream Cheese and Sugar: Start by beating your softened cream cheese and sugar together until smooth. This is the base of your filling, and getting it silky smooth is key.
- Add the Eggs: One at a time, add the eggs, mixing well after each addition. It’s important to make sure everything is well combined here for a creamy consistency.
- Add the Cream and Extracts: Stir in the heavy cream, vanilla extract, and almond extract. This will give your cheesecake its rich, velvety texture.
Baking the Cheesecake
- Preheat the Oven: Get your oven to 350°F (175°C) so it’s ready for the cheesecake.
- Water Bath (Optional, but Recommended): To avoid cracks, use a water bath. This ensures the cheesecake bakes evenly and stays smooth. Simply place the springform pan in a larger roasting pan and pour in boiling water around it. Don’t worry—it’s easier than it sounds!
- Bake and Cool: Bake your cherry cheesecake for about 50 minutes. The edges will firm up, while the center should stay slightly jiggly. After baking, turn off the oven, crack the door, and leave your cheesecake to rest for about an hour. This step helps avoid sudden temperature changes that could cause cracks.
5: How to Make the Best Cherry Topping
The cherry topping is the star of any cherry cheesecake, transforming it from a simple dessert to an indulgent treat. Whether you’re using fresh cherries, frozen cherries, or even cherry pie filling, the key to a great topping lies in balancing sweetness, tartness, and texture. Let’s dive into how to make the best cherry topping for your cheesecake.
Using Fresh Cherries
Fresh cherries bring a vibrant, juicy touch to your cheesecake, but they require a little extra effort to prepare. Here’s how to do it:
- Pit and Slice: Start by pitting fresh cherries (use a cherry pitter for efficiency) and slicing them in half. This helps them cook down evenly and makes them easier to eat when served on the cheesecake.
- Cook the Cherries: In a saucepan, combine the cherries with sugar and cornstarch (about 1 tablespoon per cup of cherries). Add a little lemon juice to enhance the cherries’ natural tartness. Heat the mixture over medium heat, stirring constantly, until it thickens into a syrupy consistency. This usually takes about 5 to 7 minutes.
- Cool Before Using: Allow the cherry topping to cool before spreading it over the cheesecake. This prevents the topping from melting the cheesecake and maintains a perfect texture.
Pro tip: If you prefer a chunkier topping, simply cook the cherries for a shorter time, leaving more fruit pieces intact. On the other hand, for a smoother consistency, cook the mixture longer and mash some of the cherries.
Using Frozen Cherries
Frozen cherries are a great alternative when fresh cherries aren’t in season. They are available year-round and still make a delicious topping. The process is similar to fresh cherries, with a few adjustments:
- Thaw the Cherries: Before using, thaw the cherries and drain any excess liquid to avoid a watery topping. You can save the juice for another recipe, like making a cherry syrup for drinks or pancakes.
- Cook the Cherries: Follow the same procedure as with fresh cherries: cook them with sugar, cornstarch, and lemon juice until thickened. Since frozen cherries have more moisture than fresh ones, you might need to cook them a little longer to get the right consistency.
Using Cherry Pie Filling
If you’re looking for a quick and easy option, canned cherry pie filling works perfectly as a topping. Here’s how to elevate it for your cherry cheesecake:
- Enhance the Flavor: While canned cherry pie filling is delicious on its own, adding a bit of fresh lemon juice or a dash of vanilla extract can deepen the flavor.
- Thicken if Needed: Sometimes, canned pie filling can be a bit runny. If that’s the case, just cook it in a saucepan with a bit of cornstarch and a small amount of water to thicken it. Heat it on low until it reaches your desired consistency.
Pro tip: A hint of cinnamon or nutmeg can add extra flavor to the topping, particularly if you’re looking for a more complex flavor profile.
Other Topping Variations
While cherries are the classic choice, there are endless possibilities for fruit toppings to customize your cheesecake:
- Berry Mix: Combine fresh blueberries, raspberries, and strawberries for a mixed berry cheesecake topping. Follow the same process for cooking and thickening the fruit mixture.
- Peach or Apricot: If you prefer a more tropical twist, peaches or apricots can be a great alternative to cherries. Just use the same method as described above.
- Chocolate or Caramel: For those who want a more indulgent topping, try adding a drizzle of chocolate sauce or caramel sauce on top of your cherry layer for an extra layer of sweetness and richness.
Why Lemon Juice is Important
Lemon juice is often added to the cherry topping because it helps balance the sweetness, enhancing the natural tartness of the cherries. It also prevents the fruit from becoming too sugary and one-dimensional, ensuring your cherry cheesecake topping has a refreshing zest to complement the creamy filling.
6: Tips for Perfect Cherry Cheesecake
Making the perfect cherry cheesecake can be a bit tricky, but with a few simple tips and tricks, you’ll be able to ensure that your cheesecake comes out creamy, smooth, and crack-free every time. Here are some expert tips for perfecting your cherry cheesecake recipe:
1. Prevent Cracking
Cracks are a common issue when baking cheesecakes. However, you can easily avoid them by following these tips:
- Use a Water Bath: One of the most effective methods to prevent cracks is baking your cherry cheesecake in a water bath. This creates a gentle, moist heat that helps the cheesecake cook evenly, preventing it from drying out and cracking. A water bath also ensures that your cheesecake retains its smooth texture.
- Avoid Overmixing the Batter: When you overmix your cheesecake batter, it can incorporate too much air, which can cause the cheesecake to crack during baking. Mix your ingredients just until they’re combined and smooth
- Slow Cooling: After baking, turn off the oven and leave the cheesecake in the oven with the door slightly cracked for about an hour. This helps prevent sudden temperature changes, which can lead to cracking.
2. Achieve the Perfect Cheesecake Texture
Texture is key when it comes to a great cherry cheesecake. You want it to be creamy and smooth, not overly dense or too airy.
- Room Temperature Ingredients: Ensure that all your ingredients, particularly the cream cheese, are at room temperature. Cold ingredients can create lumps in your batter and prevent it from achieving that smooth texture.
- Don’t Overbake: Cheesecakes are often baked until the edges are set, but the center is still a little jiggly. Overbaking will result in a dry, crumbly texture. Keep an eye on your cheesecake and take it out of the oven when it has just set around the edges.
- Resting Time: Allow the cheesecake to cool completely before chilling it in the fridge. This helps the cheesecake set properly and allows the flavors to develop fully.
3. Use a Hot Knife for Clean Slices
Cutting a cherry cheesecake can sometimes be a challenge, especially when you want it to look perfect for serving. A great tip for clean slices is to dip your knife in hot water before making each cut. This will ensure that the cheesecake doesn’t stick to the knife and that you get smooth, clean slices every time
4. Customize Your Toppings
While cherries are classic, there are so many ways to make your cherry cheesecake uniquely yours. Some ideas include:
- Other Berries: If you’re not a fan of cherries, or you want to mix it up, consider using fresh strawberries, raspberries, or blueberries. Each berry will provide a slightly different flavor profile and visual appeal.
- Caramel or Chocolate Drizzle: If you want to take your cheesecake up a notch, try drizzling it with homemade caramel sauce or chocolate ganache. This adds another layer of flavor and a gorgeous, glossy finish.
- Nuts and Whipped Cream: For added texture and flavor, top your cherry cheesecake with some crushed almonds, walnuts, or a swirl of freshly whipped cream. These additions will give your dessert an extra touch of decadence.
5. Chill Your Cheesecake Overnight
While it may be tempting to serve your cherry cheesecake as soon as it’s cooled, for the best flavor and texture, it’s essential to let it chill in the fridge for at least 4 hours, ideally overnight. This allows the cheesecake to set properly, making it easier to slice and giving the flavors a chance to meld together
By following these tips, you can ensure that your cherry cheesecake will be smooth, creamy, and free from cracks every time, making it the perfect dessert for any occasion!
7: Frequently Asked Questions
Let’s answer some common questions about making cherry cheesecake that may help you along the way.
Can I freeze Cherry Cheesecake?
Absolutely! You can freeze the entire cheesecake or individual slices, but be sure to wrap them tightly in plastic wrap and aluminum foil. When you’re ready to serve, thaw it in the fridge for a few hours before topping with cherries.
How long should I refrigerate the Cherry Cheesecake?
For the best results, refrigerate your cheesecake for at least 4 hours (or overnight) to allow it to set properly.
Can I use other fruits for the topping?
Of course! While cherries are classic, you can switch things up by using strawberries, blueberries, or even raspberries to make your own unique version of this cheesecake.
8: Serving Suggestions for Cherry Cheesecake
Ready to serve? Here are some fun ways to enjoy your cherry cheesecake.
- With Whipped Cream: A dollop of freshly whipped cream adds an extra creamy touch that pairs beautifully with the cherries.
- With Coffee: Enjoy a slice with a hot cup of coffee or tea for the ultimate dessert experience.
- As a Dessert for Parties: Slice it into smaller portions for an easy, elegant dessert at parties or family gatherings.
9: Conclusion
There you have it—the ultimate cherry cheesecake recipe! Creamy, rich, and topped with the perfect cherry filling, this dessert is sure to become a favorite. Whether you’re making it for a special occasion or just because you’re craving something sweet, this cherry cheesecake will impress. Try it out and let us know how it turns out! Happy baking!


